I’ve always been fascinated by the intersection of creativity and functionality. That’s why, when I decided to give my beloved guitar a new lease of life, I knew I had to share my experience and tips with fellow guitar enthusiasts. In this article, I’ll walk you through the process of painting a guitar, from preparation to the final touches, ensuring your instrument not only looks fantastic but also retains its sound quality.
Step 1: Choose Your Design and Colors
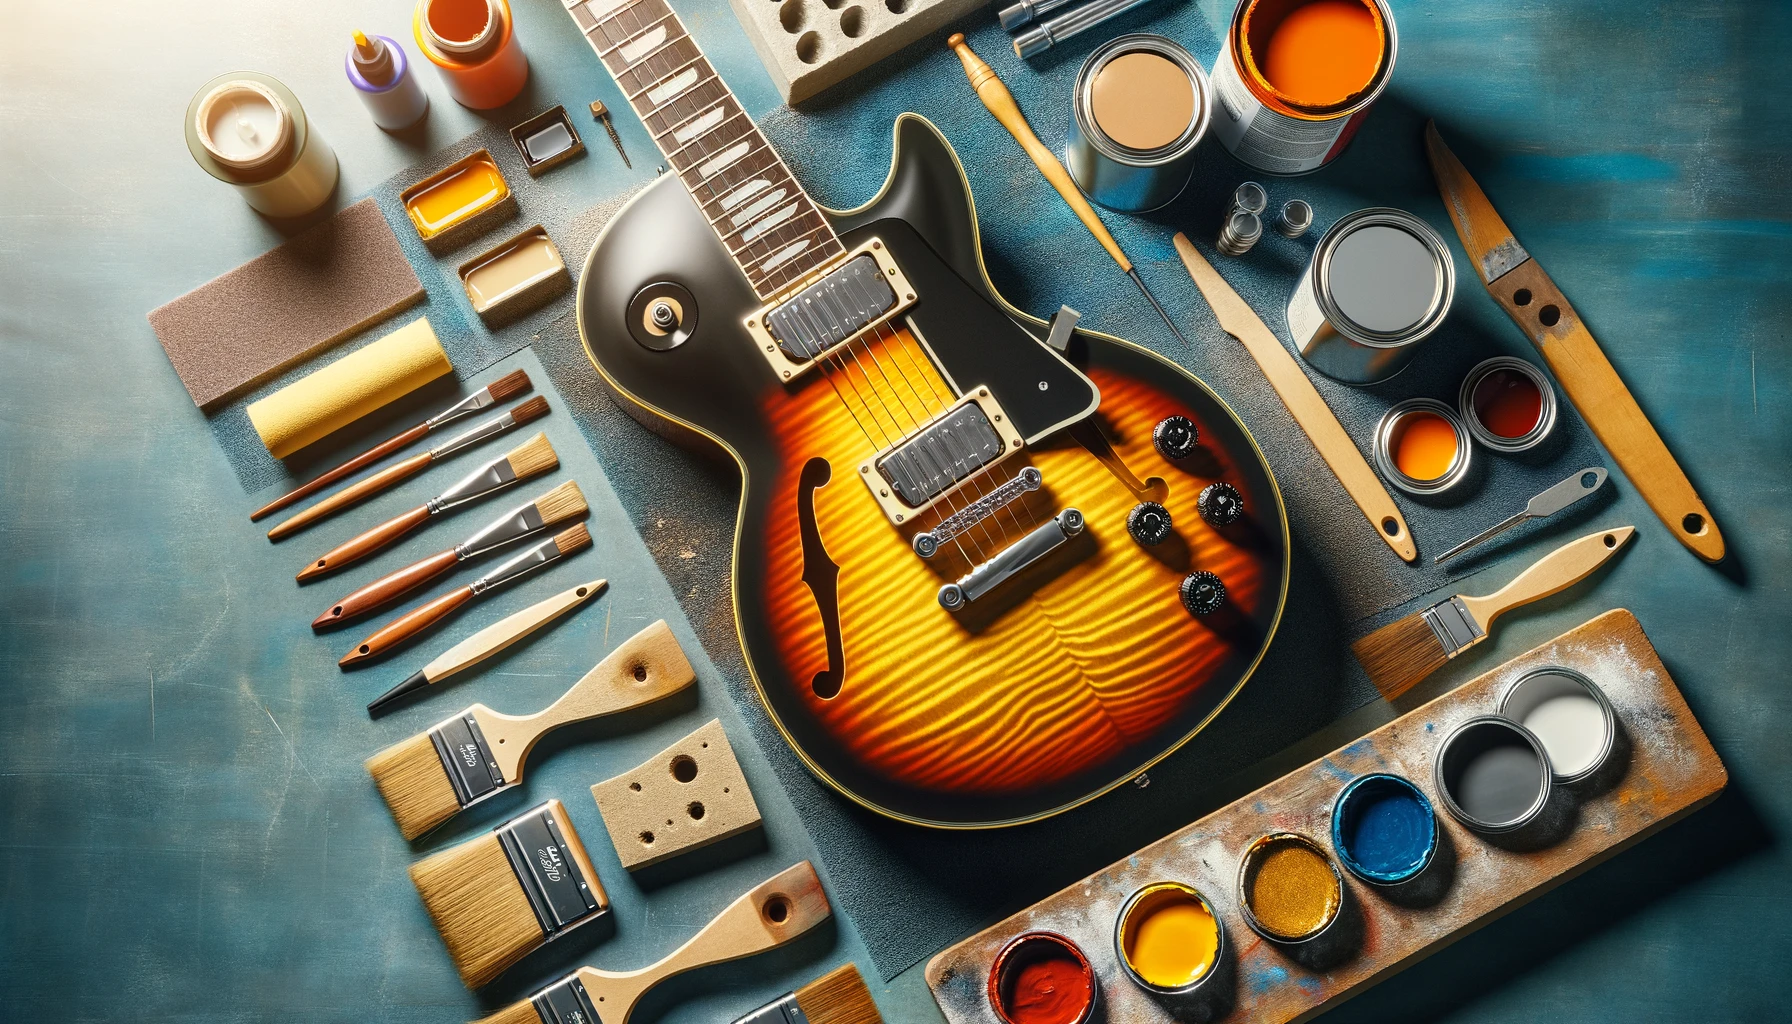
Before you start painting, have a clear idea of the design and colors you want. I spent a few days browsing through different designs and finally settled on a classic sunburst pattern with a twist of modern flair.
You can do this on almost every guitars, even a travel guitar can be paint.
Step 2: Gather Your Materials
You’ll need several materials for this project:
- Fine-grit sandpaper
- A primer suitable for guitars
- High-quality guitar paint
- Clear lacquer
- Painter’s tape
- Painting tools (brushes, airbrush, etc.)
I opted for water-based acrylic paints due to their ease of use and lower toxicity.
Step 3: Disassemble and Prepare Your Guitar
Carefully disassemble your guitar, removing the strings, bridge, pickups, and any other removable parts. Once disassembled, I used fine-grit sandpaper to gently sand the guitar’s surface, ensuring the paint would adhere properly.
Step 4: Prime the Surface
Apply a thin coat of primer. This step is crucial for achieving an even and durable paint job. Allow the primer to dry completely before proceeding.
Step 5: Apply Your Base Coat
Start with your base color. In my case, I applied a deep amber hue. Ensure each coat is thin and even, and allow sufficient drying time between coats.
Step 6: Adding the Design
This is where your creativity shines. I used painter’s tape to mark the areas for my sunburst effect and carefully applied the darker shades. Take your time with this step – precision is key.
Step 7: Seal with Lacquer
Once your design is complete and dry, apply a clear lacquer to protect the paint and give it a glossy finish. This also helps preserve the guitar’s sound quality.
Step 8: Reassemble and Tune
After the lacquer has fully dried, it’s time to reassemble your guitar. I took this opportunity to give my guitar a thorough cleaning and a new set of strings.
Conclusion
Painting your guitar can be a deeply rewarding project, blending art with music. Not only does it give your instrument a unique look, but it also allows you to express your personal style. Just remember to take your time and enjoy the process!
Your guitar now look cool, don’t let a wire change that and use a wireless guitar system instead.